Step 1 – Measure the new length
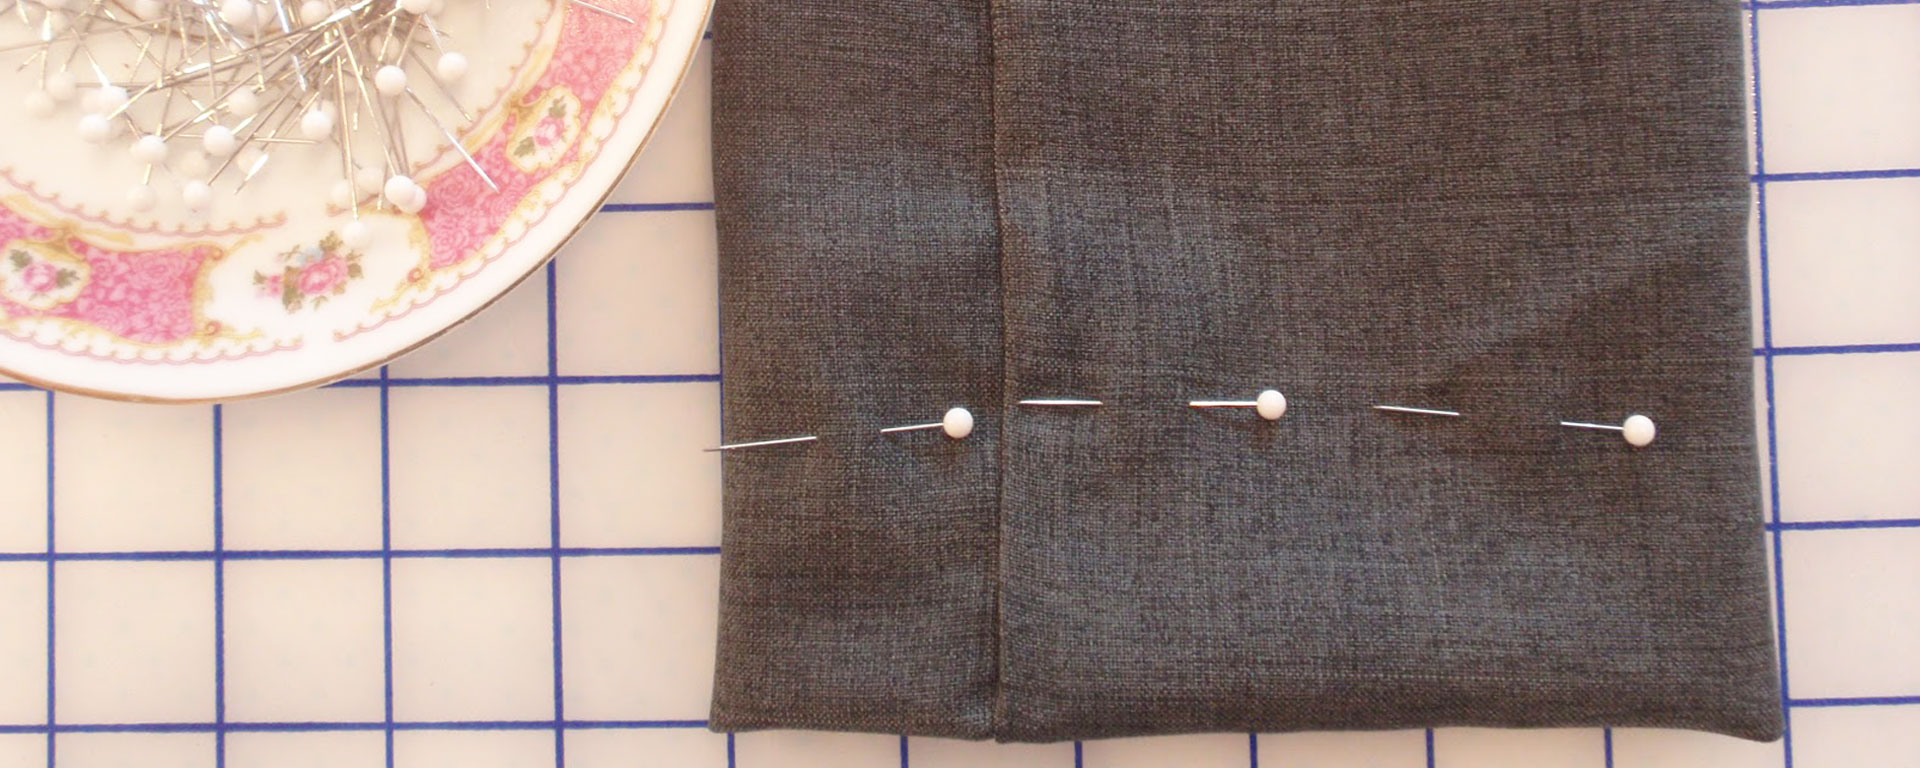
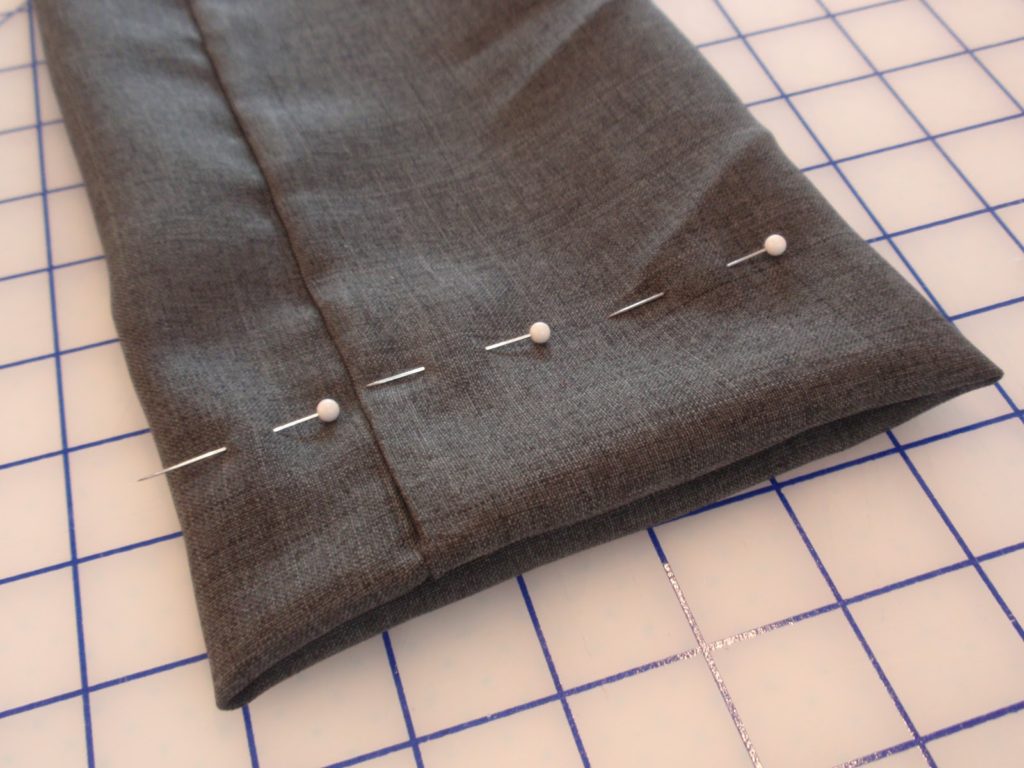
Measure how long you want your pant leg. Fold the fabric up and pin it in place. (This is best done while you’re wearing the pants.)
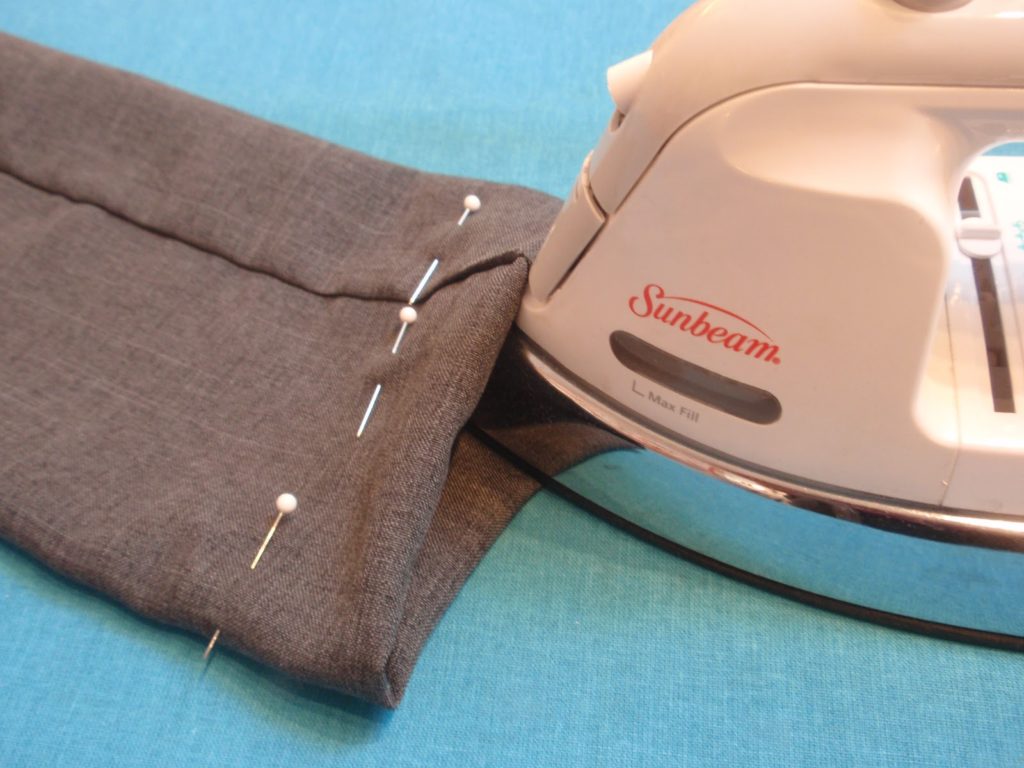
Step 2 – Press
Press the new fold line. (Make sure that your iron is on the right temperature for your fabric. An iron that’s too hot can melt or warp the fabric.)
Step 3 – Decide on a width for the hemline and trim the excess
Now you can take the pins out and turn the pant leg inside out.
Decide on a width for the hemline. For pants it is typically 1 to 1-1/2 inches above the bottom fold. (Leave extra room if you plan on folding the raw edge under.) Here I marked a 1″ cutting line with tailor’s chalk.

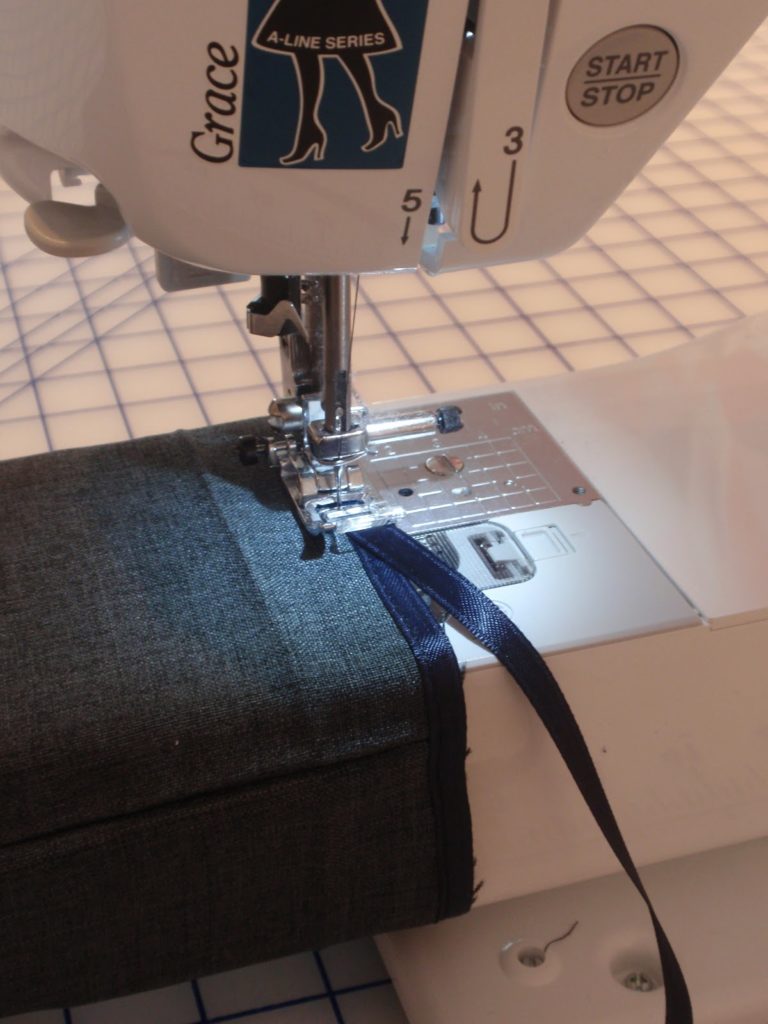
Step 4 – Finish the raw edge
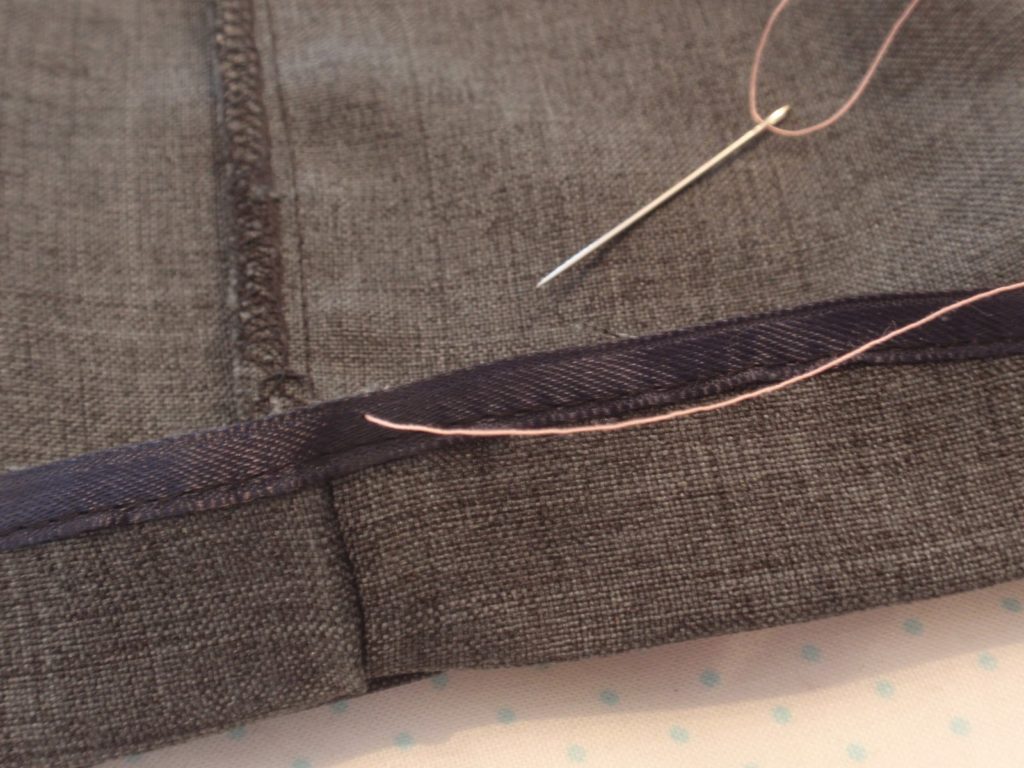
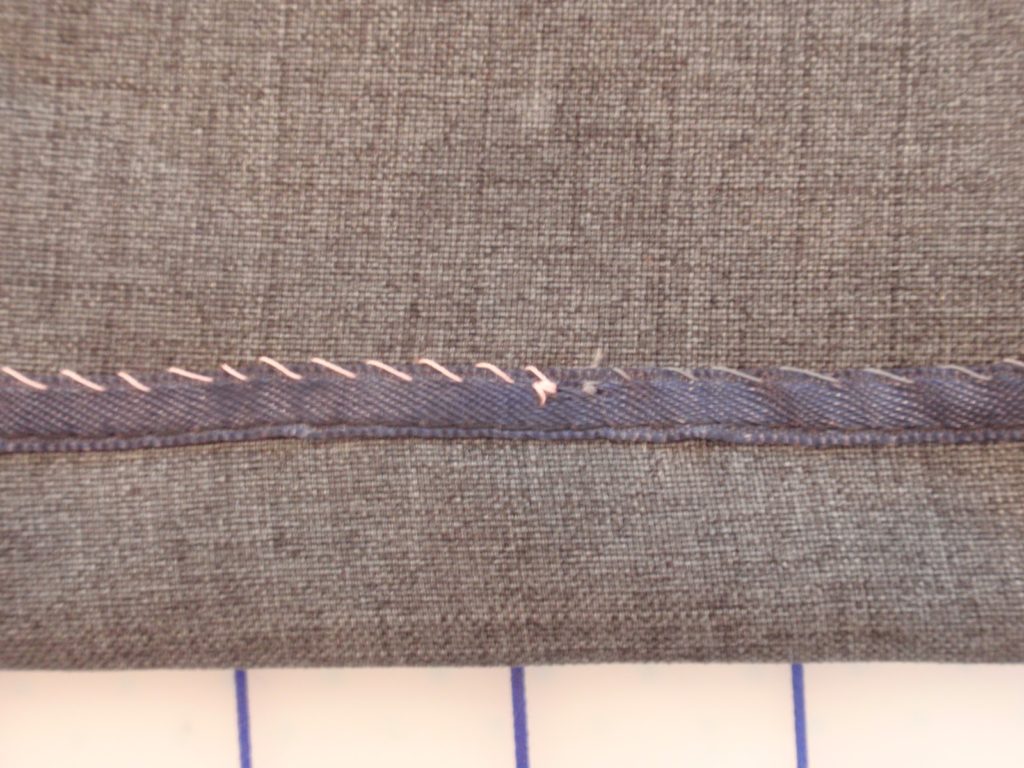
You can conceal the raw edge by folding it under and pressing it; but I find that with dress pants, the folded edge adds too much bulk at the bottom. So instead, I sewed a ribbon over the raw edge. This makes a clean, nearly weightless hem. (In the photo you can see that I had to unfold the pant leg to machine stitch the raw edge. I pressed it again after I had the ribbon attached.)
Other ways to finish the raw edge include using a zigzag stitch, pinking shears, seam tape, or a serger.
Step 5 – The Blind Hem Stitch
I use a 2 to 3-foot thread, with a knot at one end. Come up into the fold, so the knot will be hidden between the fabric. (I’m using a contrasting color here so you can see what I’m doing, when you use matching thread, the stitches nearly disappear.)
Secure the thread by making 3-4 stitches in place.
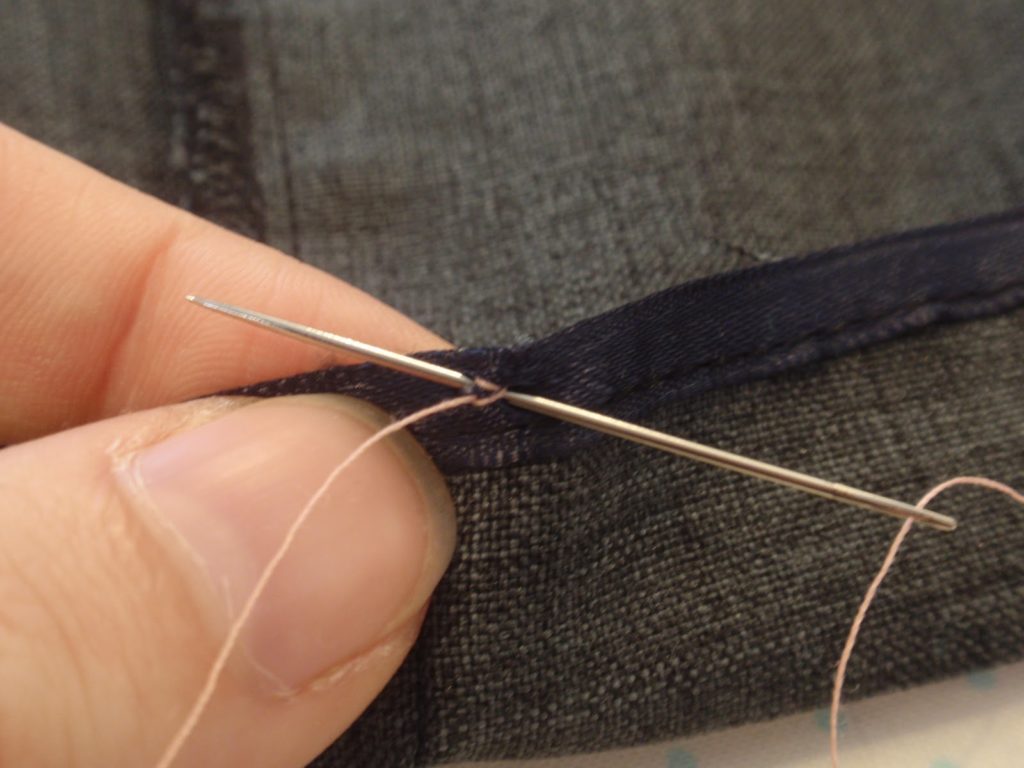
Begin the stitch by by putting your needle down near the edge, then come up again just a few threads above. Your stitch should catch just a couple threads of the outside fabric.
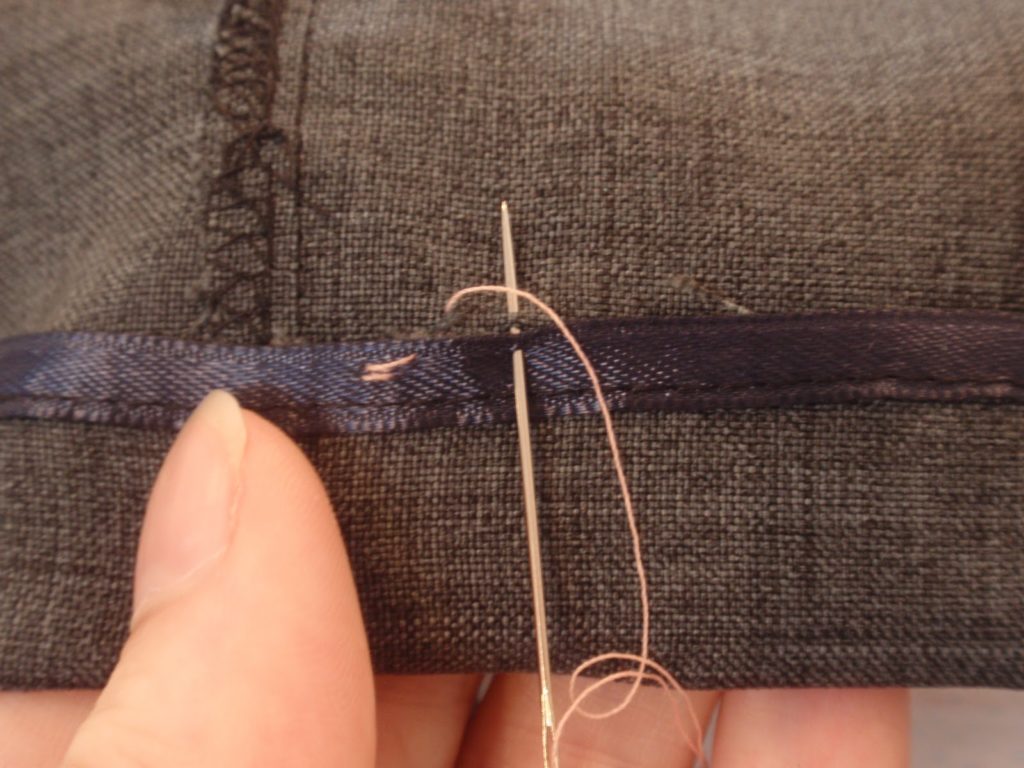
Continue like this, spacing your stitches evenly. I made these stitches close together, but you can make yours up to 1/2-inch apart.
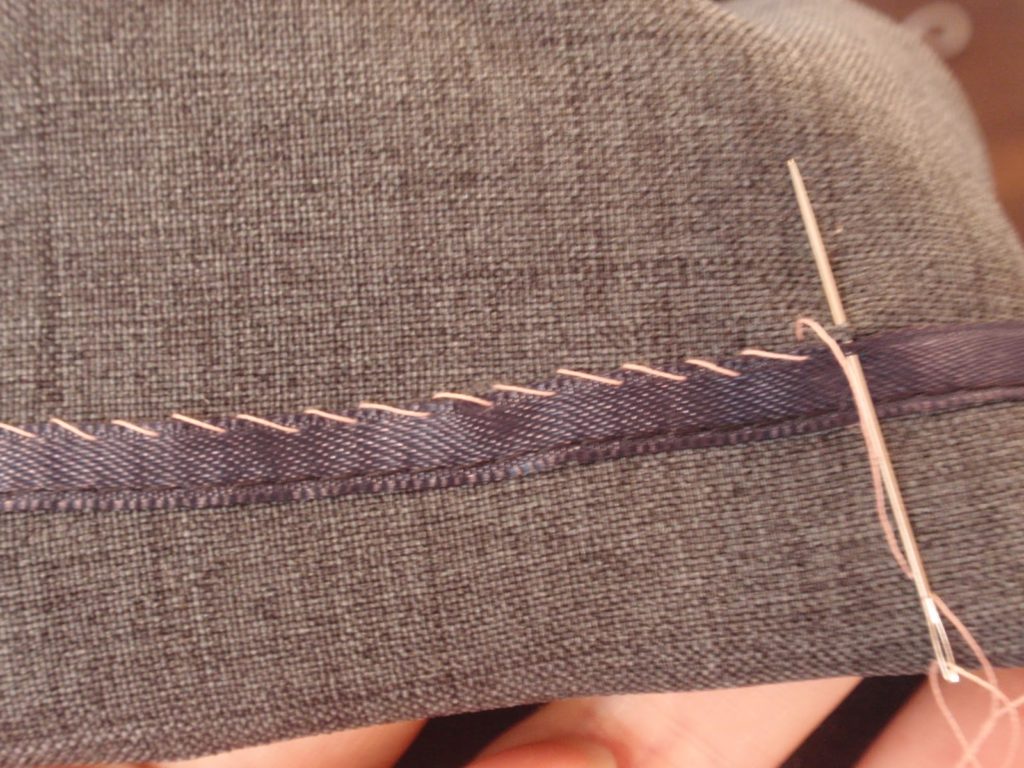
On the outside, you are making tiny vertical stitches.

When you get all the way around, make 3-4 stitches in place to secure the thread. Then bury the end of your your thread by putting your needle down close to your last stitch and, without going through the outside fabric, come up again an inch or so away. Cut the thread.

Step 6 – Press the completed hem from inside and outside
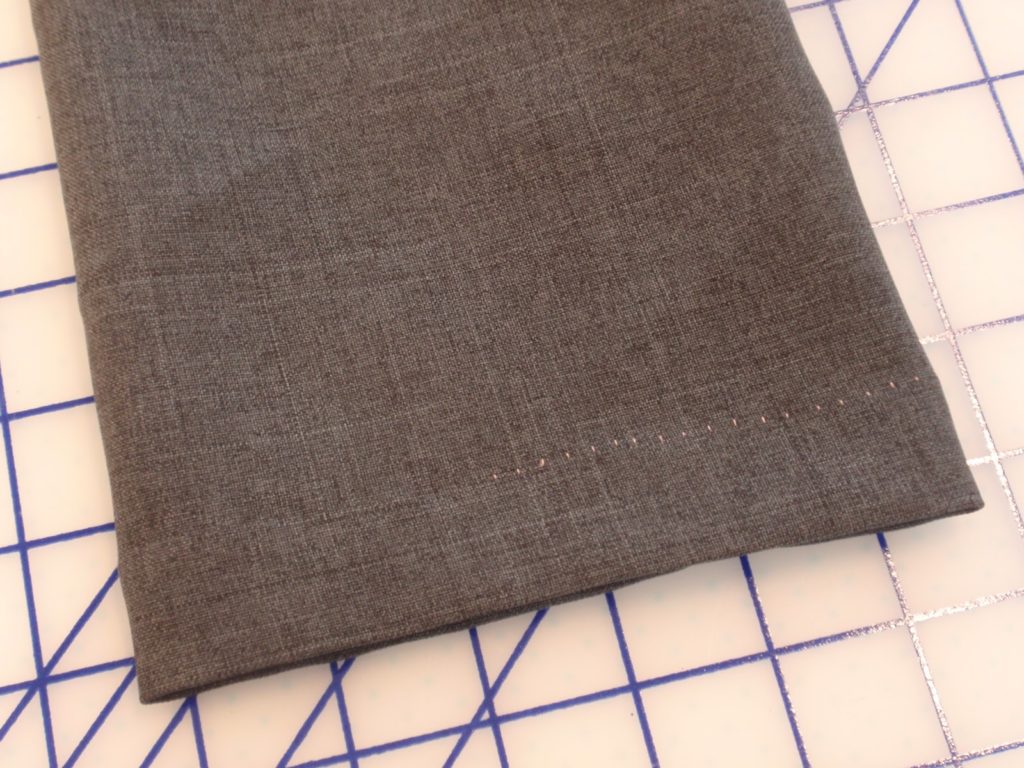
On the left the stitches are in a grey thread that matches the fabric, you can only see them if you look really close.
Happy Stitching!!!
~Tiffany